One item we run into over and over again with Venture Platform users is trying to fit portrait dimension photos into a landscape dimension container, such as the homepage slider or something like a standardized event image template. It is the digital image equivalent of pounding a square peg into a round hole but here are three solutions you can use to help solve, and even prevent, the problem.
THE PROBLEM
At the heart of the trouble is the need to fit an image that is taller than it is wide (portrait) into a space that is wider than it is tall (landscape).
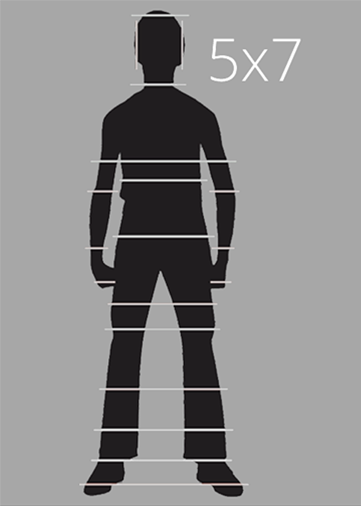
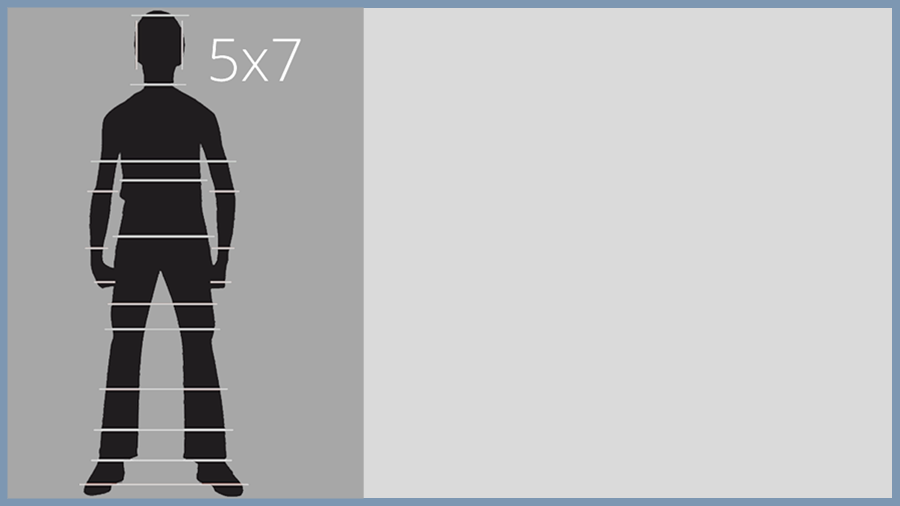
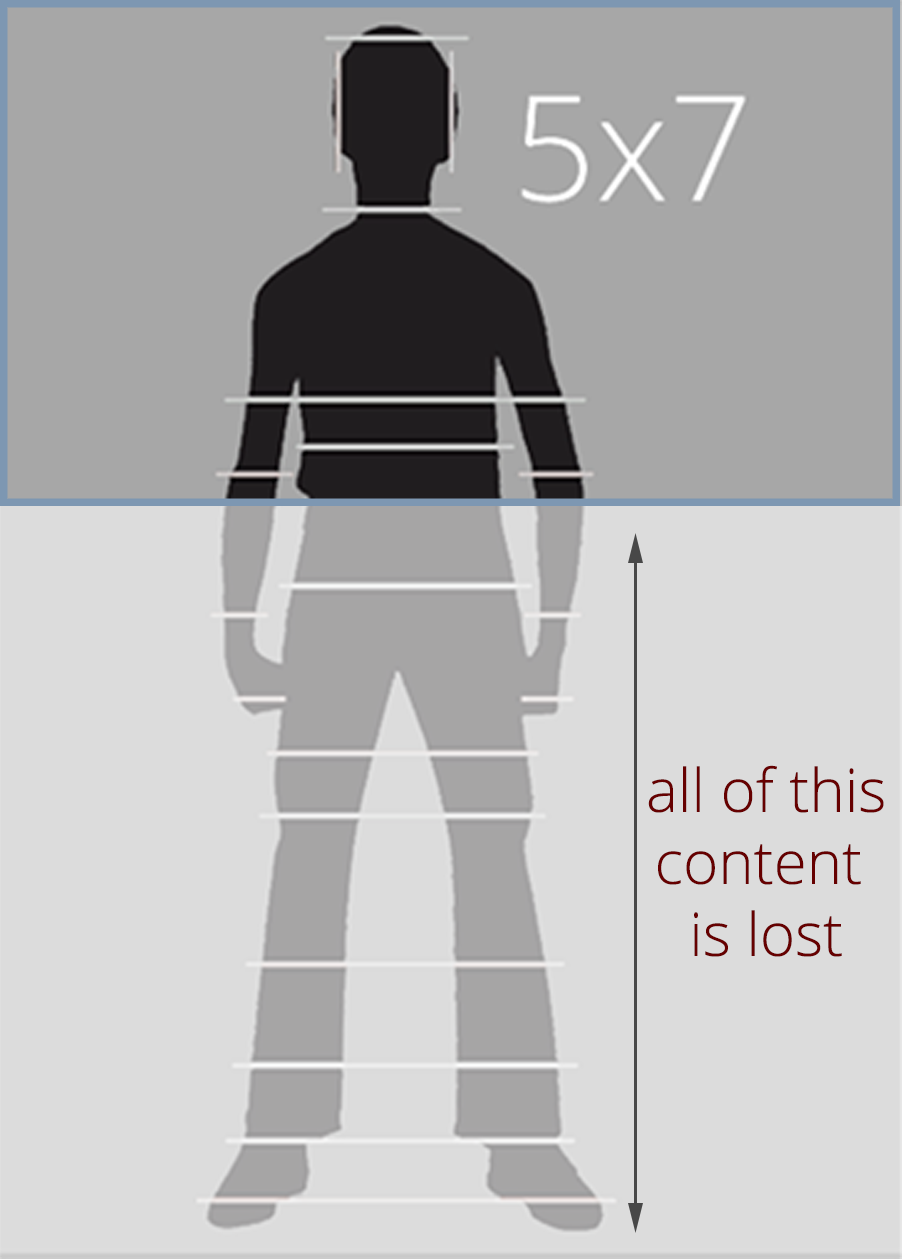
In order to fit the portrait image into the landscape frame so that all of it is visible, you end up with a large amount of dead space (Example 1). But if you increase the width of the portrait image to match the width of the landscape container, you end up cutting off more than two thirds of the source image (Example 2).
SOLUTION #1: THROW MONEY AT IT
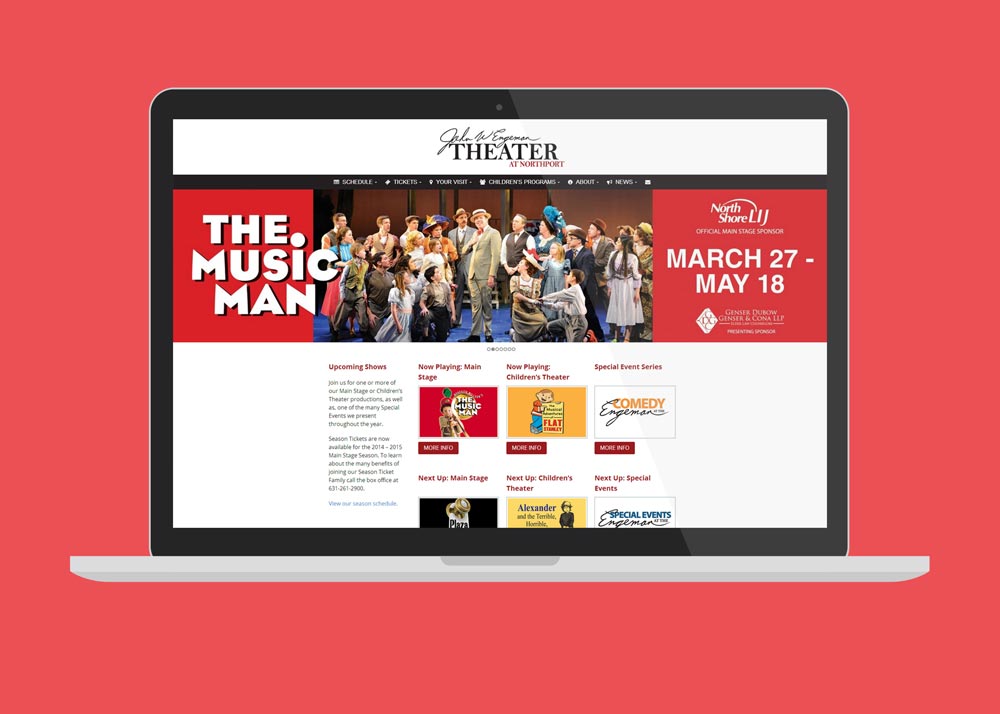
If you left room in your budget for custom graphic design work (smart move), the easiest solution is to have your in-house or outsourced designer work some Photoshop magic on the image so as to embed it into a custom graphic design solution.
In this example, Venture user EngemanTheater.com actually had a landscape image but they didn’t want to lose any of the original image so they had their graphic designer embed it into a custom slide image that also incorporated some of the show’s corresponding typography.
SOLUTION #2: FORESIGHT
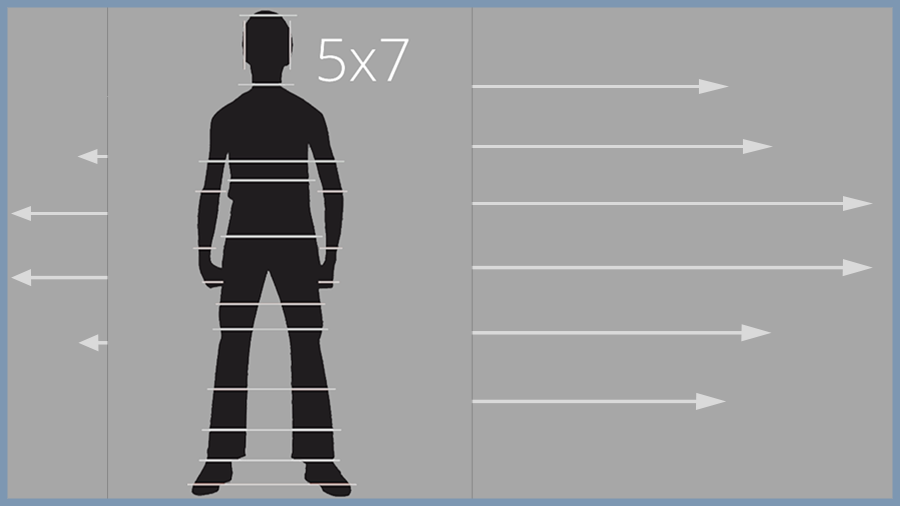
If you have yet to create the source photos, this flexible option is to make sure the photographer takes landscape versions of what would otherwise be your portrait dimension shots. When your photographer is lining up a portrait dimension shot, ask about obtaining an additional shot with the same setup but with enough space in the backdrop on either side to fill up a typical landscape width. This will maintain the continuity of the portrait image while giving you the ability to use it in far more settings than something like a typical print headshot (not to mention prevent you from inadvertently stifling the photographer’s creativity).
Here, you can see the alternative version of the original portrait image with the additional space needed to create a landscape version (Example 3).
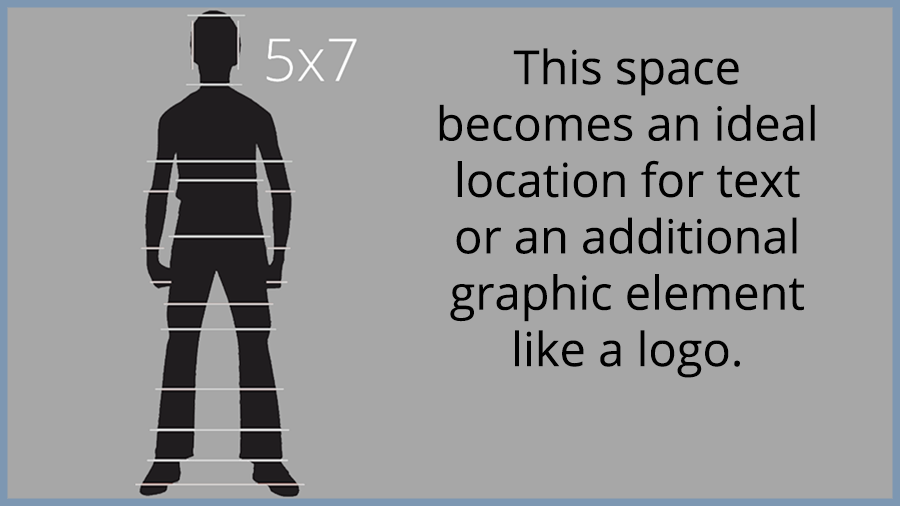
The end result is an image that provides the full impact of the original portrait version but leaves room for text or other graphic elements (Example 4).
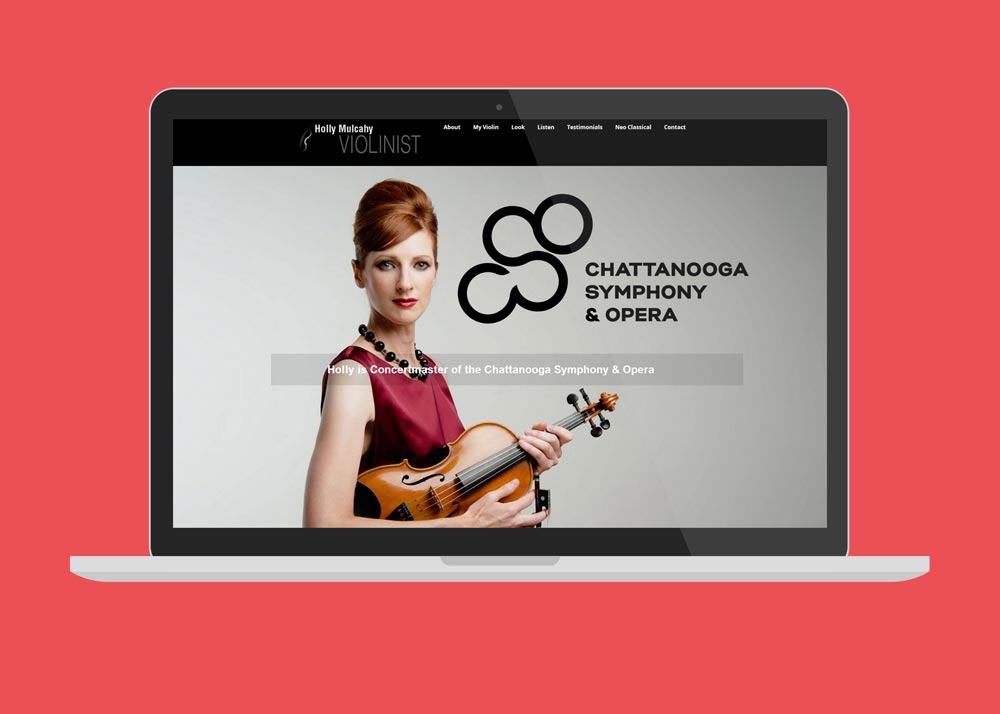
Here’s a practical example of this approach Venture’s graphic artist put together for user HollyMulcahy.com.
SOLUTION #3: EMBRACE THE CROP
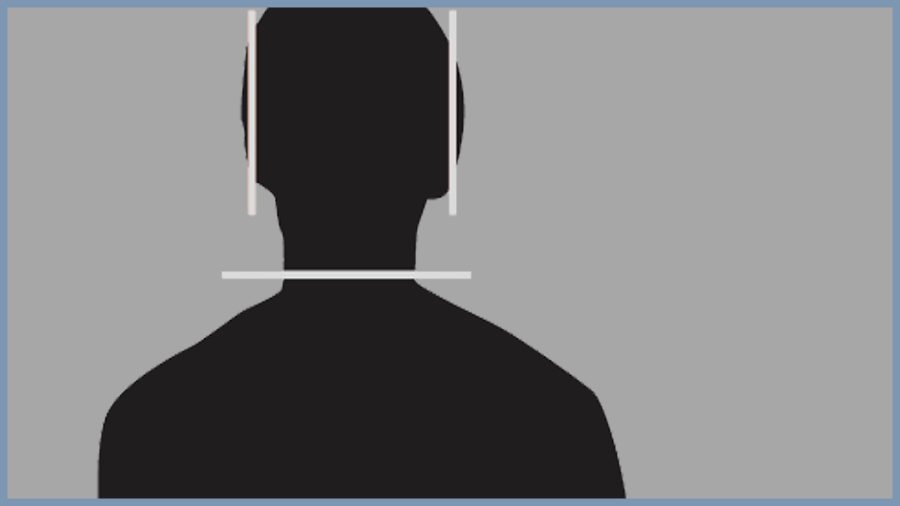
If your images have already been created then consider the benefit of cropping the portrait dimension image to fit inside the landscape dimension container. Granted, this is easier said than done as most tend to become emotionally vested in the integrity of a portrait dimension image. Will the final version have the same emotional impact as the original? No, but that’s not a bad thing. The trick is to take yourself out of the frame of mind related to the original portrait image and look at it as an entirely new image. In short, get over your bad self and look at it with fresh eyes (Example 5).
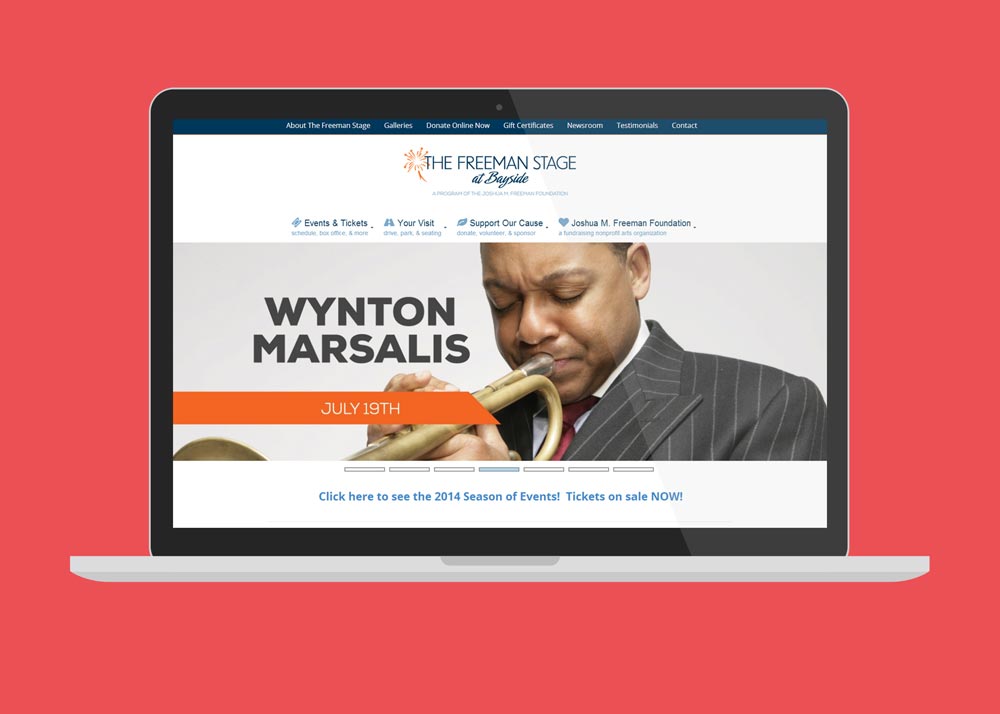
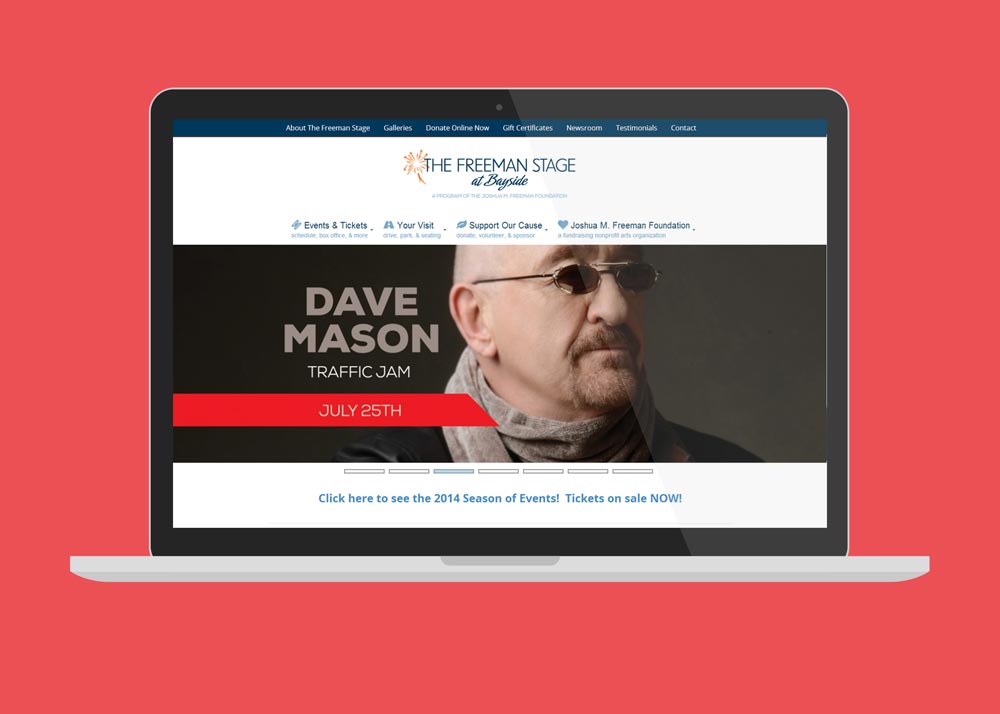
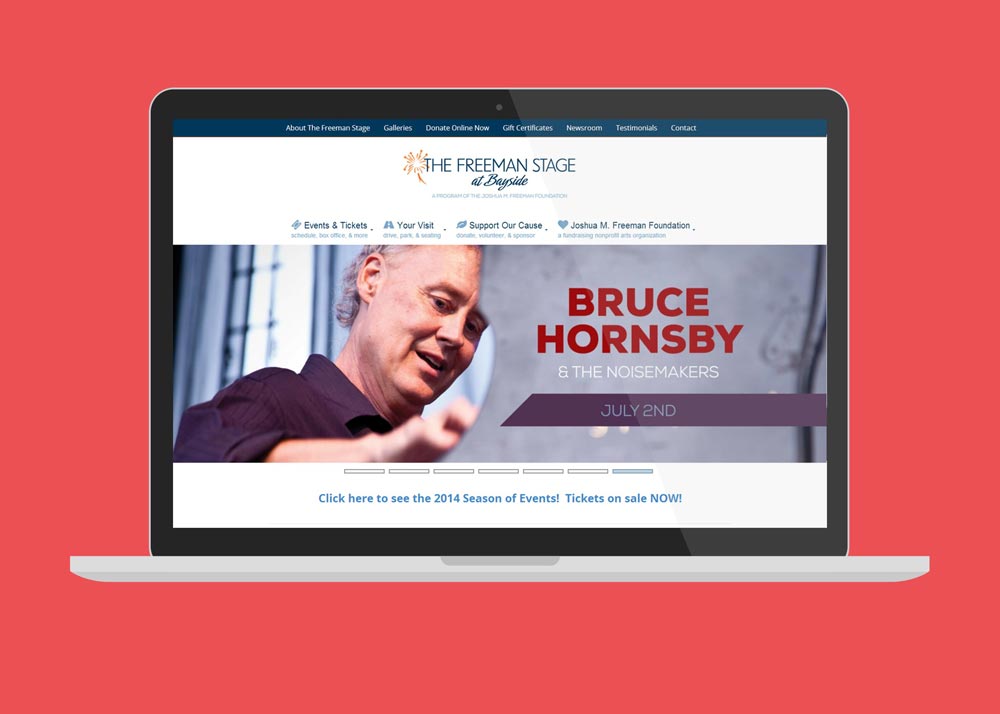
When implemented properly, the end result can be spectacular; like these examples from Venture user FreemanStage.org which leveraged some serious in-house graphic design skills to come up with the final results.
So there you have it, three solutions for fixing the square peg in a round hole conundrum when working with portrait images in landscape applications. Ideally, one or more will help you refine your organization’s website.


Thanks, Drew! This is very helpful advice.